
Using JavaScript panels
You will see JavaScript panels used for demonstrations, exercises, and solutions. The information here will help you to make full use of them.
Types of JavaScript panels
Depending on the amount of information being displayed, different types of Web panels are used. When not all of the information can be viewed, a scroll bar will appear. If you wish to readjust the relative sizes of panes that appear one above the other, put your cursor between them until you see an arrow, which can be used to click and drag where the boundary is placed.
Two-pane JavaScript panels
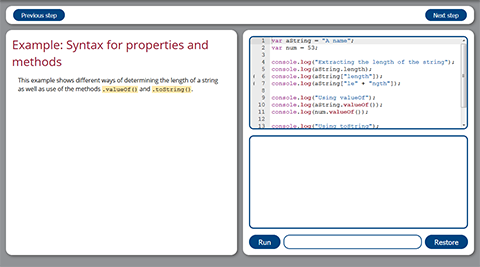
The simplest JavaScript panels have two panes, the top for the JavaScript file and the bottom for the console.
Changeable view JavaScript panels
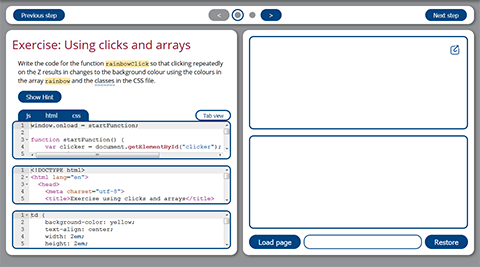
When HTML and/or CSS are used as well as JavaScript, there are panes for each of these on the left side of the page and panes for the web page and console on the right side of the page.
You can change between two modes (pane view and tab view) by clicking on the button with label Tab view found in the top right corner of the panes on the left side of the page.
Pane view
The default is pane view mode with all panes visible. When in this mode, the tabs on the top left border can be used to remove panes. White letters on a blue background indicate what is visible.
Tab view
In tab view, only one pane at a time can be seen. Click on the appropriate tab on the top left border in order to select among the panes. As in pane view, white letters on a blue background indicate that a tab is being used.
Features of JavaScript panels
Running JavaScript
Initially, the console and rendered web page panes are empty. Clicking on the Run button (for two-pane panels) results in the JavaScript script being run and clicking on the Load page button results in the page being loaded. The green progress bar will indicate when the process has terminated.
You can view the rendered web page in its pane, or you can click on the arrow to have it appear in a separate window. ![]()
Changing the document
You can change the document any way you like and reload it as many times as you like to see the results of the changes. Clicking on the Restore button will remove any of the changes you have made, restoring the original content. (Be careful: using this button will cause you to lose any work you have done.)
Colour coding
Colours are used in the various types of panes to highlight built-in terms; you can take advantage of this feature to help identify errors in your work. Colours are also used to identify different types of data in the console, such as the use of different colours for strings and numbers.
Warning messages
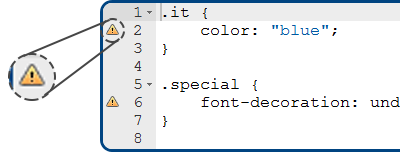
You may see a symbol to the left of one of the line numbers in the left column. If you put your cursor over the symbol, you will see a message. Here are the meanings of the symbols, in increasing order of severity.
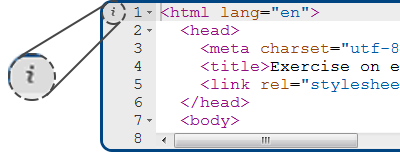
You are being given some information.
You are being given a caution.
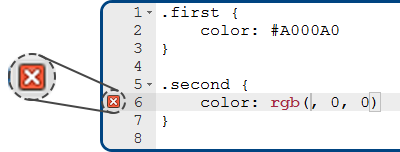
You are being given a warning.
Although it is sometimes acceptable to have information and caution symbols showing, a warning is a good indication that a change is needed.